Tuesday, September 28, 2010

Leo :O)

This is all about my 14 1/2 year old son - Leo - who I am very proud to say is a member of the trumpet section of the Walled Lake Central High School Marching Band.
He looks so smart in his uniform :O)
I am so proud of the way he is adjusting both to high school and to the grueling schedule of the Marching Band. And - he loves it - the camaraderie, team spirit and just honest to goodness fun that they have.
Go Leo and GO BAND :O)

Monday, September 27, 2010

Hair today - Gone Tomorrow.3x3 Mini Album. Extravaganza Artwork

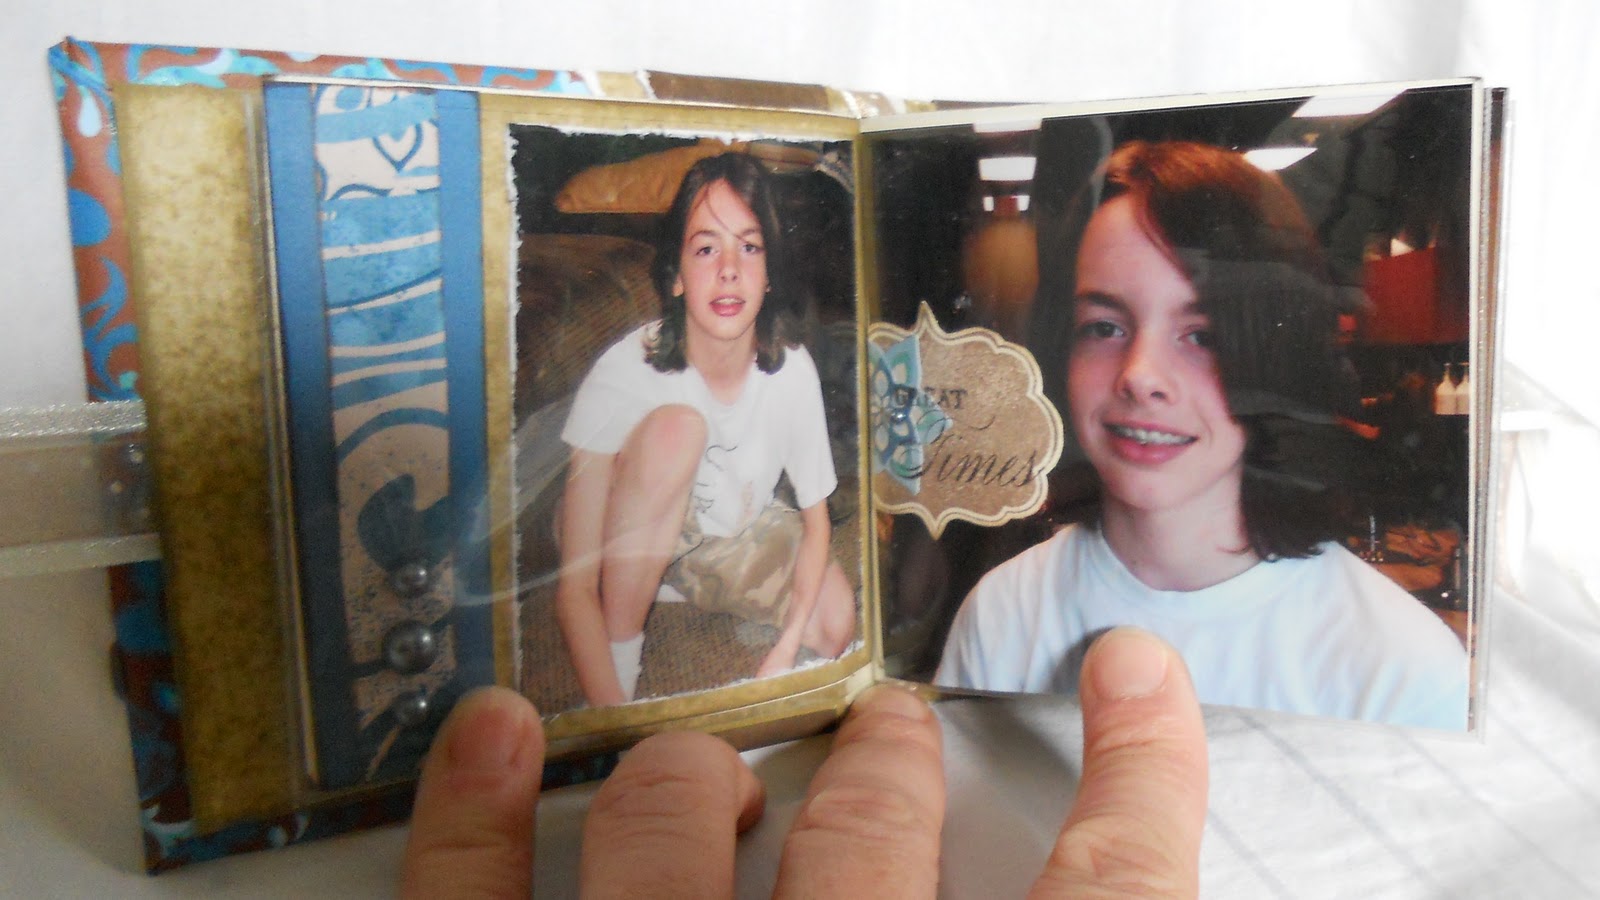
Here is a 3x3 My Creations mini album which I made with photos of Leo. He decided that he needed a new look as he was going into High School. I used the new Magnifique level 2 paper packet & matching stickease. I added the paper to the Dimensional Element solo 'H' and tied the chocolate dot ribbon around it. I also added the Glitz glitter gel to the stickease in the bottom right hand corner. I wanted to show how you can add 'bling' to projects for boys without making them 'girly'.
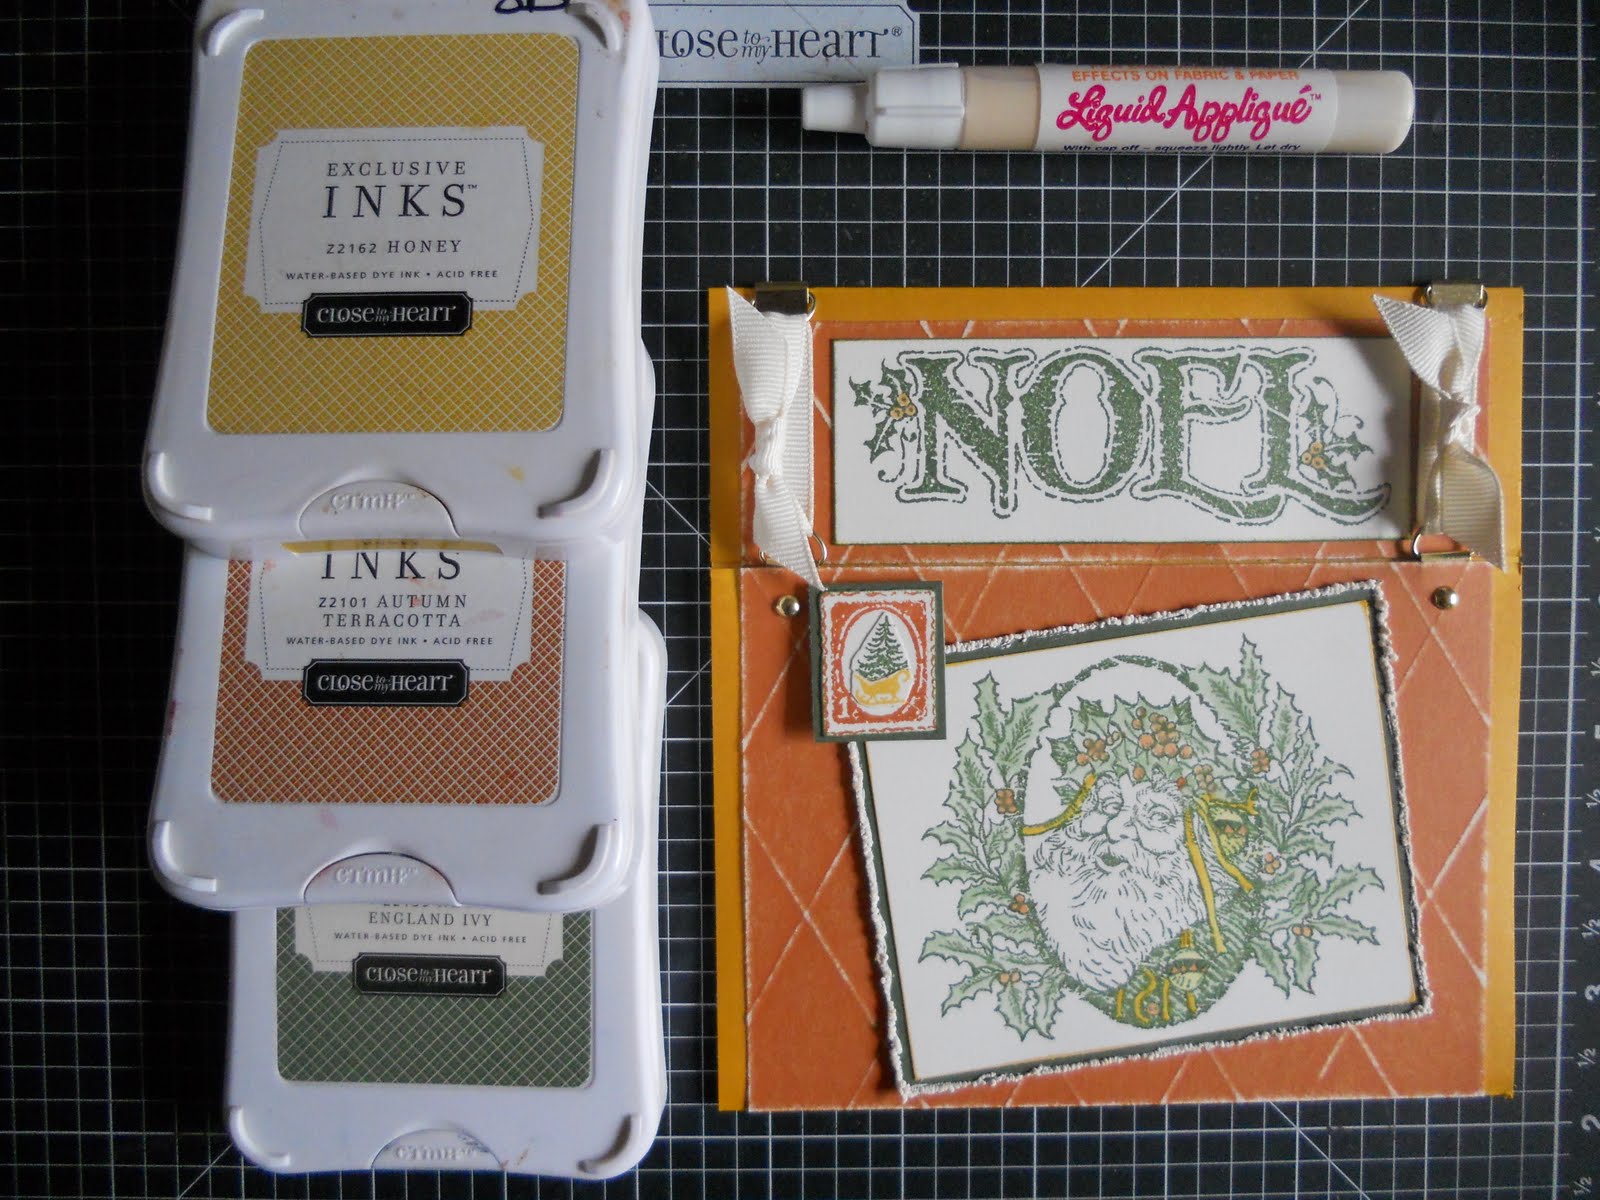
The inside cover is the Bamboo cardstock which I suede distressed with the Desert Sand ink pad. Again I added the glitter gel to the stickease and further embellished it with one of the Opaques Pearls from the Liquorice pack. I then added 3 pearls to the bottom of this page.
  More pearls and then the stamped tag and stickease on the right hand page. The tag is from the new      C1422 - Unity.
 On the left hand page I stamped the dots and then went over them with liquid glass to add shine. I layered the 2 ribbons on the right hand page.
I used one of the My Creations A-door-ables on the page below, I covered it with the B&T then added a tag from C1422 Unity and a shimmer brad as an accent to hold the ribbon handle in place.
 A piece of Pacifica cardstock on the inside of the door covered the ribbon and the back of the brad.
 I used an arrow from Z1019 Fresh Shapes dimensional element on the right hand page and added ribbon and pearls to decorate it.
 Again - liquid glass on the dots and pearls on the photo.
 I used a photo as my B&T on the left hand page and added my journalling over the top. Ribbon accents the journaling piece.
 Ribbon is tied over the B&T but under the journaling square to add some shimmer and interest.
 And the final page - my 'cool dude' complete with faux hawk haristyle, shades and a smile.
The inside back cover is the same distressed cardstock as the front and a stickease and pearl finish it off :O)
Hope you like it :O)

Thursday, September 23, 2010

Olivia Workshop On The Go

These are the 3 beautiful cards made with the paper from Olivia Workshop on the Go. The embellishment that comes with this kit are the gorgeous Shimmer Brads and I love the fact that Close To My Heart has stopped adding upgrades. So you have everything in this kit to make these beautiful cards (or the scrapbook pages featured in the the instruction guide in the kit - your choice).
Here is another card which I made from the paper remaining in the level 2 paper pack - it is the "First Impression' pattern from the Origials card confidence book.
This one is also from Orginals - it is called Cubes & Colors and the only way I have altered this pattern is to cut off 1/2" from the right hand side of the top layer of the card. This way - the border which is stamped on the inside layer of the card is visible.
This final card is one of my favorite layouts - in fact it is featured on the cover of Originals - it is called Lucky Three.
Hope you like them :O)

Tuesday, September 21, 2010

Halloween My creations cube - Extravaganza Artwork

Here is another cube - this time with a Halloween theme. I heat embossed the spider web with a mixture of clear embossing powder mixed with prisma glitter and then the spiders in silver embossing powder with prisma glitter. I used the pale purple sparkles for their eyes. And liquid glass on the small bats to make them shiny.
I used Stazon black ink for the spider web in the background as I went over the whole thing with liquid glass. And the same for the bat. I used the pale grey Opaques pearls to cover the wholes in this acrylic page - yes it is one of the pages from the Mix n Mingle album. It is secured in one corner with a shimmer brad -  because. .
. . . . . it spins up out of the way to reveal another photo underneath.
Again I used the silver embossing powder mixed with the prisma glitter and then added the purple and green sparkles.
Black pearls, purple sparkles and gathered black stitched ribbon decorate this side - again the web was stamped in Stazon and liquid glassed over the top.
Oh a little fuzzy but I hope you can see.
Well there it is - a Halloween cube with fun hidden areas, lots of BLING and sparkle.
Hope you like it :O)

Monday, September 20, 2010

Coughton Court - Mix N Mingle mini album - Extravaganza artwork

I have to say just how much I love these little books - a great combination of acrylic and chipboard pages make it so much fun :O) I used the Passages level 2 paper pack with these pictures - taken when I went back to the UK in May with my dear friend Victoria. I used one of the Marks epoxy clips in the center of the flower - I just used scissors (an old pair) to cut off the metal 'clip' and just used the decorative piece. A Opaque pearl in the shades of brown added some shimmer to the label from C1422 - Unity and a photo corner from the spring blossom collection added interest to the photo (and hid the construction sign !)
I used a rub-on in the corners of these 2 photos and again a Opaque pearl in the center of the flower.
I used a close up photo of the grey leaved plant as my 'paper' on the left hand page and then added a more distant shot of the same flower bed for the main photo. I added a pearl to each of the ribbon 'tabs. On the right hand page I used another rub on and used the pearls to accent the swirls. I used a corner rounder to make the scalloped edge to the photo.
Remember on an acrylic page - what ever you do on one side - you have to do the same on the other side otherwise it will show through. So again the corner rounder was used for the scalloped edge of the photo mat and more pearls. On the right hand page I used the green embroidery floss to stitch the zig-zag pattern on the cardstock and another Marks epoxy clip to accent the page.
Here I used the new Shimmer brads to accent these pages - one on a cardstock circle and the other as a center of a flower. Here Victoria and I were right at the top of the tower! Again the tags were from C1422 - Unity.
Pearls top and bottom add a shimmer to the left hand page which shows a photo of one of the stained glass windows, and I used embroidery floss again to stitch the photo of the right hand page. 3 pearls of 2 sizes decorated the bottom corner of the photograph.
Another marks epoxy clip with the metal clip part cut off forms the center of the flower and I know it is difficult to see but there is a tiny pearl in the center of this. Glitter rub ons for the words directly onto the photo and my favorite stamp set - Just the Ticket adds more embellishment. Coco and Colonial White ribbon decorated the whole album.
If you remember I also used another of these chipboard pages on my Zippedee decorated box and tomorrow I will show you what I did with the last page.
Hope you like this :O)

Sunday, September 19, 2010

Congratulations Amy G :O) You have monsters coming your way

Well done Amy G - I put all of the names of the ladies who had left comments on my post into a box
 & Amy G was the lucky lady who won :O) She will get the Hooligans felt monsters.
Thanks to everyone who left a comment :O)

Wednesday, September 15, 2010

Blog candy to give away :O)

Okay so how did you love those monster cards made with those adorable Hooligans felt monsters?
I thought those they were so cute and I have a pack of them to give away :O)
Post your comments under the Hooligans cards with an email so I can let you know if you have won and I will pick a name at random and you will get these adorable Hooligans. Good luck.  You have until Midnight on Saturday to post you comments :O)

Tuesday, September 14, 2010

Hooligans cards - Extravaganza artwrok

SO - just how stinkin cute are these little fuzzy felt monsters. Perfect for birthdays, Halloween and everything else. 
This top card I used the new Gypsy and lagoon cardstock along with paper from Magnifique along with the clear card base. Black stitched ribbon adds nice weight to the top of the card and mimics the stitching for the monsters teeth.
This one used gypsy and sunset cardstock with a little lagoon for a touch of blue. Again one of the circular clear cards. Black and cream ribbon is threaded through the holes which I punched in each of the scallops.
This card started with a black cardstock base and again used Magnifique level 2 paper and gypsy and lagoon cardstock. The purple and blue sparkles a a fun touch to the bottom corner and I used the piercing tool to make the holes around the cream cardstock base and the lagoon circle. Satin edge colonial white ribbon finishes it off.
Hope you like them :O)

Monday, September 13, 2010

Cherry On The Top Award

cherry_on_top_blog_award
Oh my goodness - what a lovely surprise for a Monday Morning. The very kind and talented Cheyanne Hively gave me this cute blog award

Here are the simple rules for accepting this award:
1. Thank the person who gave it to you.
That one is easy - Thanks Cheyanne - it was so sweet of you. Check out her blog at http://cheyannehively09.blogspot.com/

2. Post the award on your blog.
Did that :O) You all KNOW that I love to share my accomplishments and I do feel truly grateful to be given this one - and super excited :O)

3. Tell everyone three things that you love.
Oh my - only 3???  Well I can include my husband and 3 lovely children Robyn, Leo & Elliott in the 1st one. Being able to do something I love and getting paid to do it - I love to work for CTMH that would be number 2. And number 3 - I have no idea - shall I say my shoes, or my cute MG Midget, for the store White House Black Market, Henri Bendel or Tiffanys - or perfume or Autumn mornings - I just don't know - maybe you can pick on of those for me LOL.

4. A picture you love. 
This one again is such a hard one for me - but here you go
It is a picture of Rich and I on the shores of Lake Tekapo in NZ.Such a wonderful trip and great memories.

5.Pass the award on to five blogs you love.
This is another hard one - there are soooo many talented people with great blogs but here you go:
http://www.sunflowers-dragonflies.ca/
http://roseblossomlegacies.blogspot.com/
http://paigespaperparadise.blogspot.com/
http://wizardshangout.blogspot.com/
http://stampinbuds.com/


Sunday, September 12, 2010

Senior Recognition - WLC Marching Band


I was in charge of organizing the Senior Recognition for the Walled Lake Central Marching Band. The school colors are blue and gold so CTMH's Outdoor Denim & Sunflower are just - perfect. I made the tags for the roses from White Daisy cardstock & heat embossed using gold embossing powder the treble clef. Then used Outdoor Denim ink for the words and Sunflower for the music notes. Rich took them to Kinko's to get them laminated as there was a chance of rain and I didn't want to get them ruined and ink of the kids band uniforms!!!  Then added ribbon in Outdoor Denim and Sunflower to finish them off = I think they looked cool :O) Hope you like them too :O)
D1346 - Your Rock

Saturday, September 11, 2010

H2H Color Challenge

Well - there is a great challenge for cards using these colors:


So I decided to make a card for the challenge. I wanted to put a different twist on Christmas so this is what I came up with:
I used Honey cardstock for the base and then heavily ink distressed it in the same color. I dry embossed the diamond pattern in the Autumn Terracotta cardstock and then sanded it. I then added a very fine line of liquid applique to the edge of the New England Ivy cardstock mount and heat set it. The postage stamp is paper pieced to get the 3 colors on the one image. The images are stamped on colonial white cardstock. I then used a waterbrush to color in the images. Gold photo hangers and colonial white grosgrain ribbon tied it closed. The stamp set I used is from the new Autumn/Winter idea book D1449 - Father Christmas.
Hope you like it :O)

Friday, September 10, 2010

My Little Monsters - Extravaganza artwork.


This has to be one of the most cute things I have done. Mind you I am totally biased about these photos being cute :O) I started with the My Creations cube and used the level 2 Topstitch paper pack and stickease. I added the new large felt Hooligan to the top of the box and colored in a Dimensional element 'M' with the chocolate marker before adding prisma glitter over the top. Chocolate dot ribbon held everything in place.
I added the two small felt Hooligans - love those googley eyes on them. I used the corner rounder to make the scalloped edges and put a tiny pearl Opaque in each curve.
The clear buttons had prisma glitter added to the back of them and had chocolate embroidery floss threaded through them - the larger chocolate buttons were threaded with more of the ribbon.
On the stickease I added the tiny pearl colored Opaques and ran a line of liquid glass which I sprinkled with prisma glitter.This makes the Prisma glitter more 3D.
I used a clear acrylic tag in the bottom right hand corner - added prisma glitter to the back of it with liquid glass and attached more Opaques to the from of the tag. A tiny chocolate dot ribbon bow finished it off.
I was absolutely thrilled with the way that this turned out - hope you like it too :O)

Thursday, September 09, 2010

Veranda 9x9 Memory showcase album & box from Extravaganza.

Here is a 9x9 Memory Showcase box which I mad eusing the Veranda paper and stickease - it has a photo of the beautiful Milford Sound, NZ on it. Again I used the stamp set "Just the ticket". I have come to the conclusion that everyone needs this stamp set - it is so versatile. I used the Opaques for the dots on the j and i. I covered a clear button with liquid glass then dipped it in prisma glitter and then pushed a creme brulee 
bigger brad through the center.


Here is the matching 9x9 memory showcase album which fits inside.

I love the interactive sections on pages, cards and album. It generates interest and is a great way of making space for more photos.
I used the new Shimmer Brads to anchor down the edges of the ribbon inside the fold out section.
Again, the "Just the ticket" stamp set was perfect for these two pages. I love how the color of the papers are reflected in the color of the water of the bay in Queenstown, NZ.
Hope you like it :O)