Love flies from the heart #legaciesoflove #ctmh #labellevie #baseandbling #burlap #girlboss #clipboard #letsflamingle #vintagecamper #createalifeyoulove
So so excited with how this turned out - yes it’s ALL scrapbook product (and yes it’s all retired ) apart from the flowers which I bought from Amazon.
I’m scrapping my stash of fabulosity to decorate the camper - hope you like it xxx
Showing posts with label 3D Art. Show all posts
Wednesday, May 20, 2020
Thursday, February 06, 2020
Be Mine Banner
You will always be Close To My Heart ..... so won’t you be ‘Be Mine?’
I heat embossed the flowers directly to the wood and added Espresso cardstock to the other pieces - make sure you order your plain wood banner while supplies last and decorate it to suit your decor
😘 #legaciesoflove #bemine #ctmh #3dart #paperflowers #embossing #rangerembossingpowder #woodenbanner #hearts #girlboss #createalifeyoulove #joinmyteam
I heat embossed the flowers directly to the wood and added Espresso cardstock to the other pieces - make sure you order your plain wood banner while supplies last and decorate it to suit your decor
😘 #legaciesoflove #bemine #ctmh #3dart #paperflowers #embossing #rangerembossingpowder #woodenbanner #hearts #girlboss #createalifeyoulove #joinmyteam
Labels:
3D Art,
Valentine,
Wood Banner
Monday, January 13, 2020
Floral Frame
really enjoyed making this and coloured the white paper flowers with sponge divers and used Saffron and Pixie inks. I’m so grateful for this family of mine and a gorgeous wood frame to display our photo. Choose the words and frame that you like best - Grateful, Stay Awhile, Be Kind, or Create.
Sarabatkin.ctmh.com
#legaciesoflove #ctmh #grateful #family #woodframe #flowers #paperflowers #papercrafting #girlboss #createalifeyoulove #joinmyteam
Sarabatkin.ctmh.com
#legaciesoflove #ctmh #grateful #family #woodframe #flowers #paperflowers #papercrafting #girlboss #createalifeyoulove #joinmyteam
Saturday, January 06, 2018
Love Letters straight from Close To My Heart
I have made a shot video showing you the beautiful Love Letters kit which is available just this month PLUS the additional artwork with the left over items.
Cant tell you how much I love this kit. It is so pretty with the metallic rose gold accents and chipboard letter bases and 3D flowers.
I hope you enjoy the project and cards and more that I feature.
Hope on over to the website at sarabatkin.ctmh.com to order yours or to get your FREE when you join my fast growing team.
https://www.facebook.com/SaraBatkinCTMHLegaciesOfLove/videos/1611822005521973/
Cant tell you how much I love this kit. It is so pretty with the metallic rose gold accents and chipboard letter bases and 3D flowers.
I hope you enjoy the project and cards and more that I feature.
Hope on over to the website at sarabatkin.ctmh.com to order yours or to get your FREE when you join my fast growing team.
https://www.facebook.com/SaraBatkinCTMHLegaciesOfLove/videos/1611822005521973/
Labels:
3D Art,
Love Letters,
Video
Friday, September 15, 2017
Cat & Bats card class
These 2 cards and the fun gift box turned out even cuter than I had hoped - The matching Cats & Bats stamp set was just perfect for these. All items are available on my website at sarabatkin.ctmh.com
Hope you love them x
Labels:
3D Art,
Cards,
Cats & Bats
Saturday, July 15, 2017
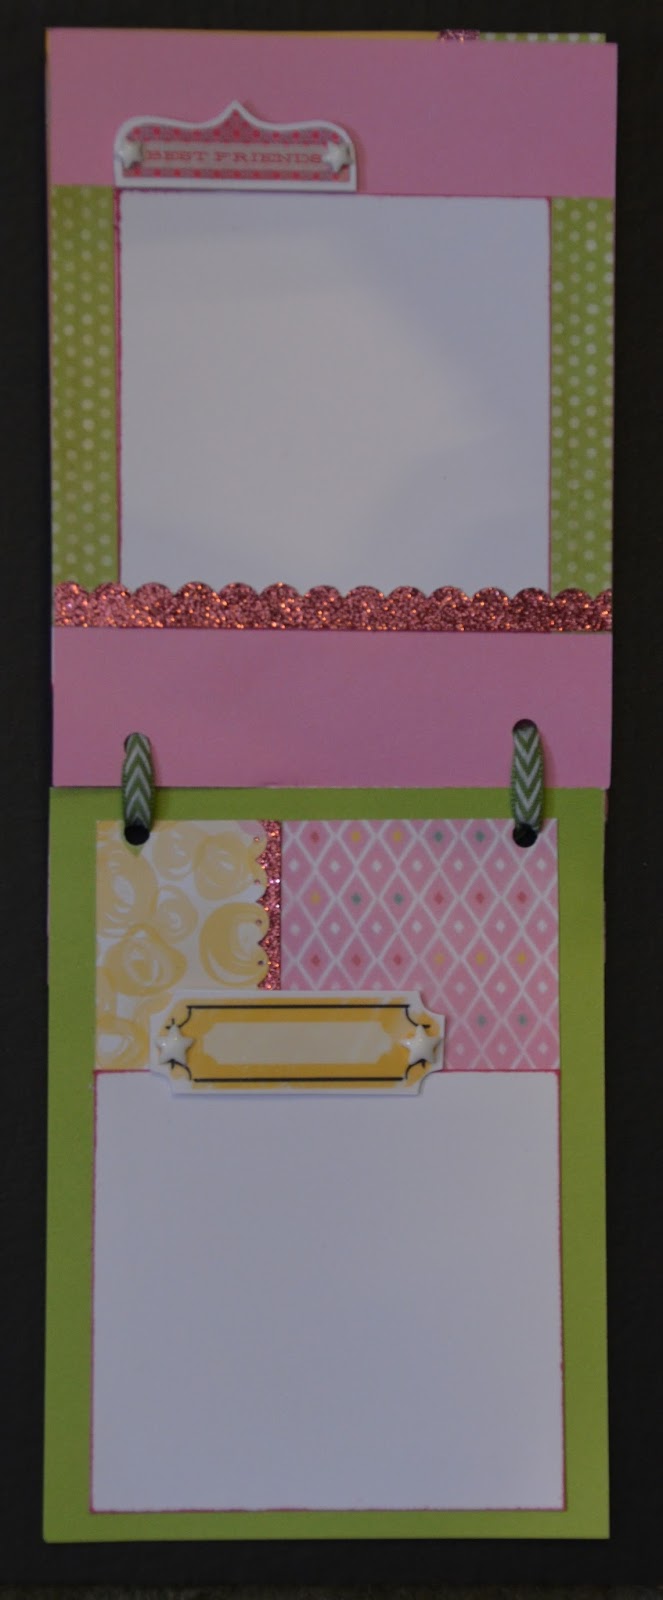
Prickly Pear Mini Album
![]() |
| Prickly Pear Mini Album by Sara |
![]() |
| Prickly Pear Mini Album by Sara |
How cute is this - I love this paper more and more and this is perfect for adding cute little photos to this adorable mini album - perfect for carrying in your purse :O)
Again I used the Prickly Pear Workshop your way and added in the matching cardstock pack for the additional colors of hardtack which co-ordinate with this fun paper.
Head on over to my website at https://sarabatkin.closetomyheart.com/default.aspx and order yours today and I will send you the cutting guide for free :O)
Labels:
3D Art,
Mini Albums,
Prickly Pear WYW
Tuesday, March 28, 2017
Heritage Scrapbook page
This was last night and todays adventure into the world of textural scrapbooking pages.
I wanted to make a Heritage style page which featured both my beloved dad and my son.
I am so very happy with the finished result as it uses all CTMH product.
I did add a few retried items which you may have in your stash :O)
But pretty mush everything is available on my website. (sarabatkin.ctmh.com)
Hope you like this as much as I do as I absolutely love this xxx
Love Sara x
Labels:
3D Art,
Hertitage,
Scrapbook Layouts
Thursday, January 05, 2017
Welcome Home Wreath
OMG - I can't tell you how excited I am to share this stunning wreath which is the January special from Close To My Heart. I am totally in love with it. And there are 4 ways you can get it !!!
- You can buy for $18.95—no qualifying purchase required!
- You can get it FREE with a qualifying $60 purchase!
- You can get it FREE by hosting a party that reaches $250 in sales
- Get it for free when you sign up to be a Consultant!
Here is mine - I sponged ink onto the edges of the green and blue pieces and colors the white roses with a clear shimmer brush which i had tinted with a few drops of sorbet reindeer. I also used a second shimmer brush tinted with sea glass reindeer to color the edge of the Welcome piece. Even though the kit comes with gold foil 'centers' for the flowers I wanted more dimension so I colored White enamel gems with a yellow marker and then added them to the center of the flowers.
I absolutely love the fact that you can put whatever you like on the banner piece as you receive a full alphabet - you could out your family name or Spring or Summer, Welcome or whatever word makes you happy.
Don't miss out xxx Love Sara xxx
Labels:
3D Art,
Home Decor,
National Papercrafting Month
Wednesday, November 09, 2016
Winter Wonderland Banner
Okay technology is not my friend today as this is the third attempt to post this so hopefully it will work!
I made this gorgeous banner from the Gift Tags from the Seasonal Expressions booklet. Hope it will inspire you to make one of your own :O)
Visit my website at SaraBatkin.ctmh.com to order your supplies today x
Labels:
3D Art,
Christmas,
Paper crafted projects
Friday, July 29, 2016
Family Banner - Base & Bling
Yet another use for the Base and Bling jewelry line.
This time a fun banner which could be hung anywhere. I used the Pendant pieces and added Black cardstock. I cut the letters using the Cricut cartridge and then flooded the front with Liquid Glass as it is lighter in weight than the glass covers.
I cut the flowers using the Cricut and added a tiny purple gem to the centers. I embossed the cream cardstock frame shapes in Gold embossing powder and then hand cut each one.
I thought it looked really pretty and hope you like it as much as I do Love Sara xxx
This time a fun banner which could be hung anywhere. I used the Pendant pieces and added Black cardstock. I cut the letters using the Cricut cartridge and then flooded the front with Liquid Glass as it is lighter in weight than the glass covers.
I cut the flowers using the Cricut and added a tiny purple gem to the centers. I embossed the cream cardstock frame shapes in Gold embossing powder and then hand cut each one.
I thought it looked really pretty and hope you like it as much as I do Love Sara xxx
Labels:
3D Art,
Base & Bling,
Cricut,
Cricut - Artiste,
Extravaganza 2014
Thursday, July 28, 2016
Luggage Tags - Base and Bling Style - Extravaganza 2014
How adorable are these. Fun luggage bag tags for your purse. I made them as a cute gift for my friends.
I used the Base and Bling pendant pieces with the alphabet stickers to personalize each one.
Instead of using the glass covers I flooded the front of each piece with Liquid glass so that i was able to set the different gems and sparkles directly into it. I then added a charm across the front - again sunk into the Liquid Glass to keep it secure.
I made the paper beads from the Seaside paper - I took a 0.5" x 3" piece and wrapped it around a wooden skewer and lots of liquid glass sealed it and stopped it from unrolling. I then sandwiched the ribbon between 2 gems for added shine and sparkle.
I hope you love them as much as my friends did and that they inspire you to create - Love Sara xxx
I used the Base and Bling pendant pieces with the alphabet stickers to personalize each one.
Instead of using the glass covers I flooded the front of each piece with Liquid glass so that i was able to set the different gems and sparkles directly into it. I then added a charm across the front - again sunk into the Liquid Glass to keep it secure.
I made the paper beads from the Seaside paper - I took a 0.5" x 3" piece and wrapped it around a wooden skewer and lots of liquid glass sealed it and stopped it from unrolling. I then sandwiched the ribbon between 2 gems for added shine and sparkle.
I hope you love them as much as my friends did and that they inspire you to create - Love Sara xxx
Labels:
3D Art,
Base & Bling,
Extravaganza 2014,
Seaside
Wednesday, July 27, 2016
Tic Tac Toe - CTMH style - Extravaganza 2014
How fun is this :O)
I took a 6" canvas frame and added the Seaside paper to the front of it and used lots of Liquid Glass to attach it. I added Gold glitter paper to the sides and edged it with the Base and Bling chain. I cut thin strips of paper to make the squares and added the Gold Bling Gems.
The playing pieces are the Oval Glass Base and Bling covers with gold glitter cardstock which I had stamped the Xs and Os in Black Stazon ink. using the Glamour Uppercase stamp set (it will retire July 21st 2016 so don't wait) I then used liquid glass to attach them to the the glass pieces. I used the same ink and the state stamp set to stamp on the cream Muslin Bag to hold all of the paying pieces.
Hope you like it and that it inspires you to create - Love Sara xxx
I took a 6" canvas frame and added the Seaside paper to the front of it and used lots of Liquid Glass to attach it. I added Gold glitter paper to the sides and edged it with the Base and Bling chain. I cut thin strips of paper to make the squares and added the Gold Bling Gems.
The playing pieces are the Oval Glass Base and Bling covers with gold glitter cardstock which I had stamped the Xs and Os in Black Stazon ink. using the Glamour Uppercase stamp set (it will retire July 21st 2016 so don't wait) I then used liquid glass to attach them to the the glass pieces. I used the same ink and the state stamp set to stamp on the cream Muslin Bag to hold all of the paying pieces.
Hope you like it and that it inspires you to create - Love Sara xxx
Labels:
3D Art,
Base & Bling,
Extravaganza 2014,
Seaside
Monday, July 25, 2016
Fun Scrapbook Mini Album in a Box - Extravaganza 2014
Love, Love, LOVE this mini album in the CTMH Journalling Cards Box. Its is the perfect size for so many things and can be decorated in so many ways - I am so sad to see it retire at the end on July :O(
Here I added this fun flowered paper and added an adorable mini album inside it.
On the outside of the box I took one of the Base and Bling bracelets which i flattened out and added ribbon which I wove in and out of the bangle part. I was still able to add the charms by looping them into the ribbon.
I hope you love it as much as I do & that it inspires you to create - Love Sara xxx
Labels:
3D Art,
Base & Bling,
Extravaganza 2014,
Mini Albums,
Scrapbook Class
Monday, July 04, 2016
Beach Baby Colonial White Display Tray
The Colonial White Display frame is still available for just a few more weeks so make sure you get it while you can.
Hope you like it - Love Sara xxx
Friday, July 01, 2016
Love bugs Colonial White Decor. Frame - Extravangza 2014
Here is a different aspect of layout - something very different for me.
I love the soon to be retired Colonial White Decor Display Frame
I used the Base and Bling bracelet oval piece which I took off the band - then I put resin piece in to it.
The Black shimmer trim added some sparkle and the arrow washi tape is fabulous on this project.
Make sure you don't miss out on getting this before supplies last.Hope you like it - Love Sara xxx
Labels:
3D Art,
Base & Bling,
Extravaganza 2014,
Scholastic
Thursday, June 30, 2016
Colonial White Frame - Home Decor - Extravaganza 2014
Here is another of my favorite pieces of artwork with my lovely son Leo.
I used the Scholastic paper pack with lots of Lagoon cardstock which I scored and then heavily ink distressed the front - which gives you the 2 shades of color. Love it.
I attached the paper to the chicken wire with liquid glass on the back of the artwork, It held it on beautifully.
I know the frame is no longer available but I know that many of you have this item so I thought it would give you some inspiration.
Hope you like it - Love Sara xxx
I used the Scholastic paper pack with lots of Lagoon cardstock which I scored and then heavily ink distressed the front - which gives you the 2 shades of color. Love it.
I attached the paper to the chicken wire with liquid glass on the back of the artwork, It held it on beautifully.
I know the frame is no longer available but I know that many of you have this item so I thought it would give you some inspiration.
Hope you like it - Love Sara xxx
Labels:
3D Art,
Base & Bling,
Extravaganza 2014,
Scholastic
Wednesday, June 29, 2016
DAD - 3 Ring Mini Album
I so love this piece from the Extravaganza class of 2014.
I used the Kraft 3 Ring binder from CTMH and have used it to keep all of the cards which I received when he passed away.
I used the Alphabet sticker sheet to spell DAD and then added the glass pieces on top.
I used Liquid Glass to glue two '&' pieces together to give the impression of a metal boat fitting and added an anchor charm to the ribbon on the spine.
I love looking at this and at the cards which I was sent - it is a perfect memory keeper and I will be sorry to see this mini album retire in just a couple of days - make sure you don't miss out
Love Sara xxx
I used the Kraft 3 Ring binder from CTMH and have used it to keep all of the cards which I received when he passed away.
I used the Alphabet sticker sheet to spell DAD and then added the glass pieces on top.
I used Liquid Glass to glue two '&' pieces together to give the impression of a metal boat fitting and added an anchor charm to the ribbon on the spine.
I love looking at this and at the cards which I was sent - it is a perfect memory keeper and I will be sorry to see this mini album retire in just a couple of days - make sure you don't miss out
Love Sara xxx
Labels:
3D Art,
Base & Bling,
Extravaganza 2014,
Mini Albums
Tuesday, June 28, 2016
Display Tray - Extravaganza 2014
Yes I know - this is from 2014 but I have a whole month to fill up before you can even begin to see the Artwork from this years Creative Session at Convention.
So here you go - a cute 5' x 7' Hinged Display Tray Z1838 which I have decorate with fun Base and Bling items - I used the pendant piece as a mini photo frame and lots of ribbon. I used the mustache and the owl charms and just used a pair of old scissors to cut off the hanging loop.
I love this little display frame as it doesn't take up much room and is easy to store when you want to change out your decor.
This item is going to retire so click on the purple words and it will take you directly to my website so that you can get yours while supplies last.
Hope you like it - Love Sara xxx
SaveSave
So here you go - a cute 5' x 7' Hinged Display Tray Z1838 which I have decorate with fun Base and Bling items - I used the pendant piece as a mini photo frame and lots of ribbon. I used the mustache and the owl charms and just used a pair of old scissors to cut off the hanging loop.
I love this little display frame as it doesn't take up much room and is easy to store when you want to change out your decor.
This item is going to retire so click on the purple words and it will take you directly to my website so that you can get yours while supplies last.
Hope you like it - Love Sara xxx
SaveSave
Labels:
3D Art,
Base & Bling,
Extravaganza 2014,
Seaside
Tuesday, May 10, 2016
Beach Picture Frame
The fram itself came from Michaels and it's a 'decorate yourself' plain wooden frame. I used Modge Podge to attache the paper to the base and then the rest is added with liquid glass.
Hope you like it - Love Sara xxx
Monday, May 09, 2016
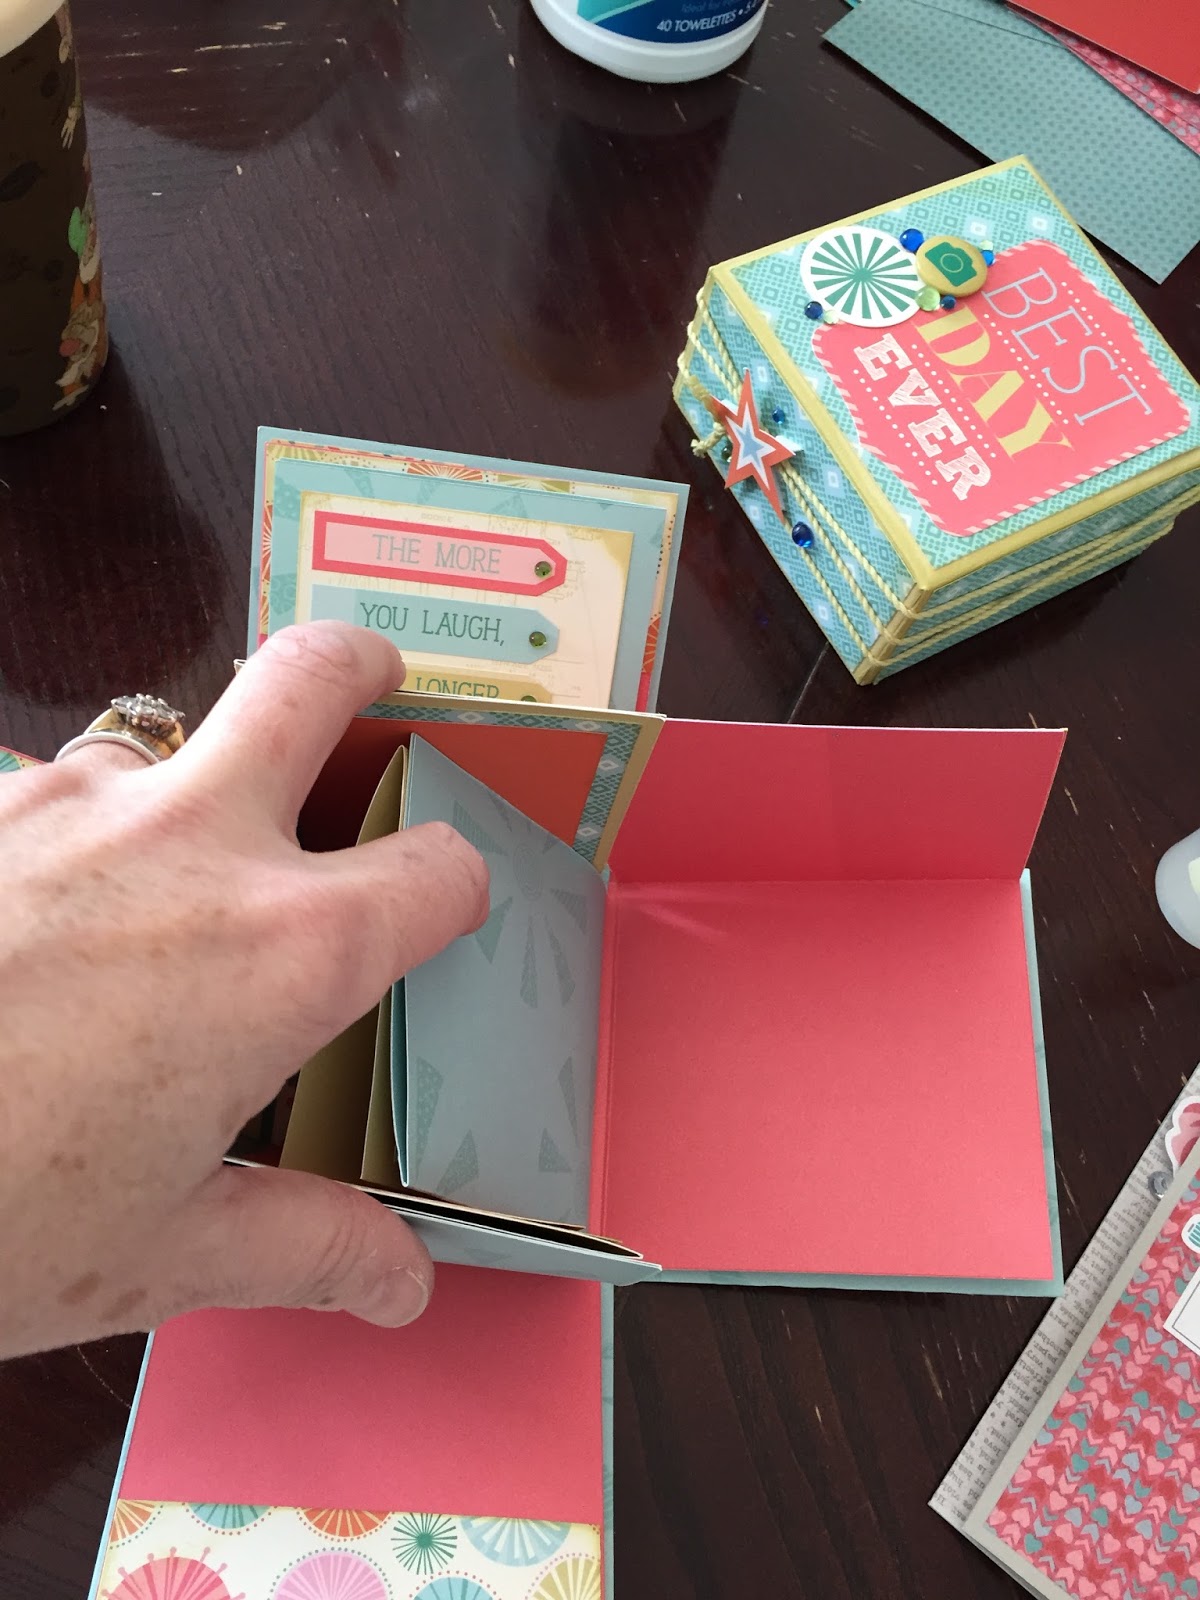
Hopscotch Explosion Box
I really enjoy making these Explosion Boxes - this was one i did in the Spring last year with the now retired Hopscotch paper and matching embellishments and compliments.
As you can see it has lots of room for photos and journalling. A fun Graduation gift :O)
Hope you like it - Love Sara xxx
Labels:
3D Art,
Hopscotch WOTG
Subscribe to:
Posts (Atom)