Showing posts with label Moonlight. Show all posts

Friday, February 08, 2013

Mini Album - Extravaganza 2012

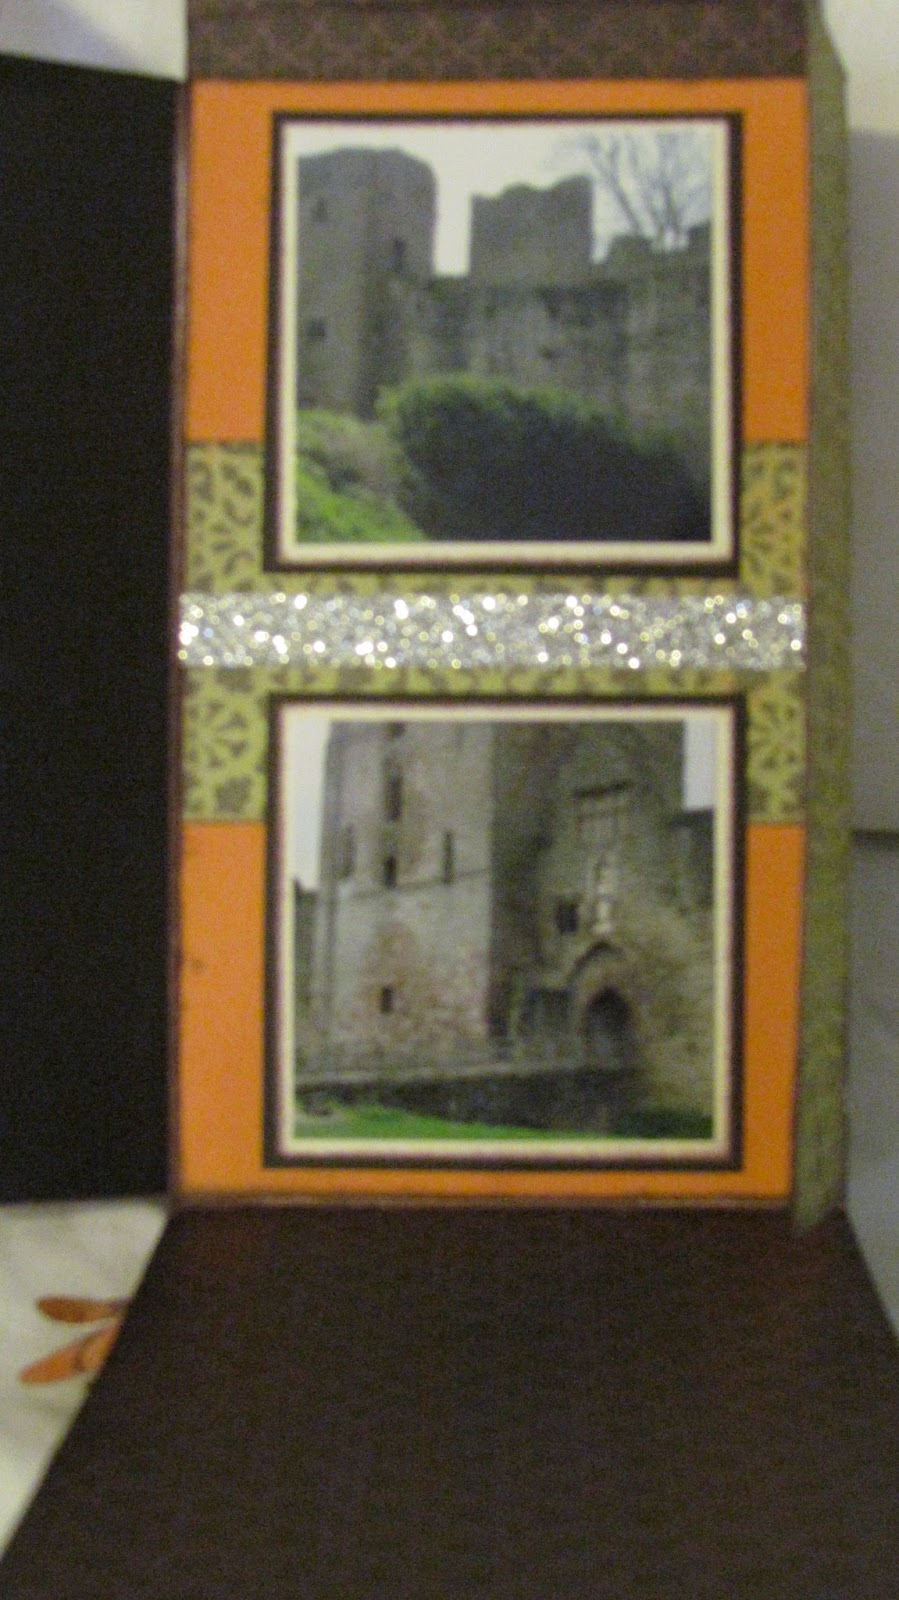
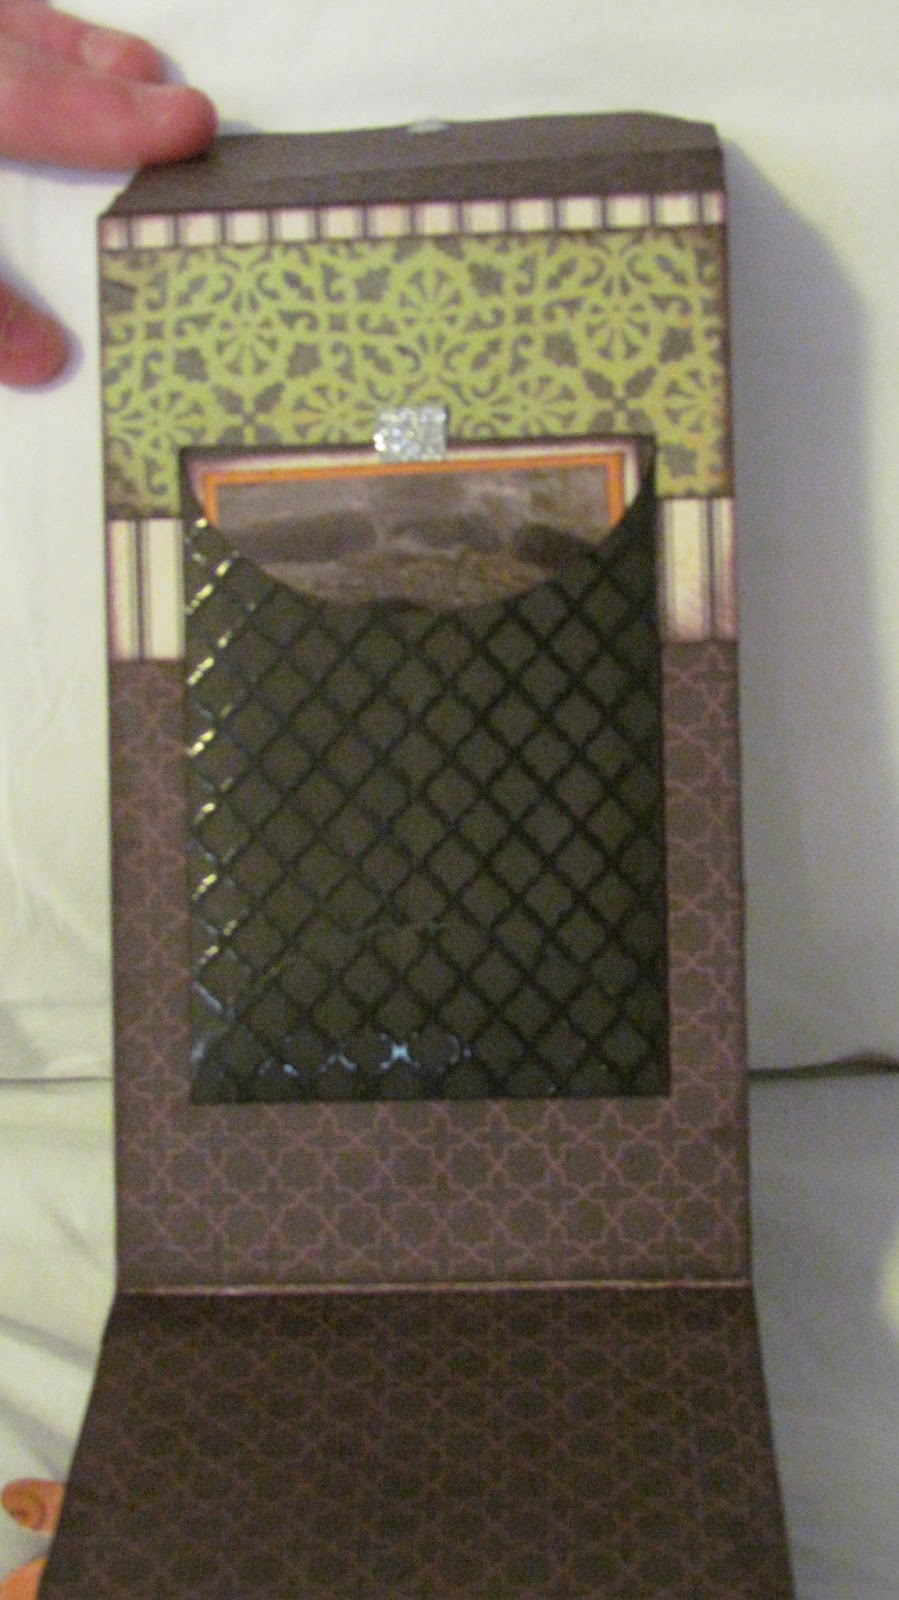
This mini album was created from a Colonial White Die Cut 8x3.5" card.
I scored it and made a fan folded spine to which I added the additional pages.
Moonlight Paper pack was perfect - love these stripes.
The flower was cut using the CTMH Art Philosophy Cricut cartridge.
I love the sparkle of the Shimmer trim.
 The silver medallion shape is from the Slate Mini Medley.


 I used a Posh Journalling Spot to form another pocket for a photo.

 
Hope you like it - I do :O)  - Love Sara x

Monday, February 04, 2013

Jewelry box - Extravaganza 2012

This was my crowning glory as far as I am concerned - with the Milk Carton Birdhouse a very close 2nd.
I used the  My Creations Recipe/Photo box as the base. I know I wanted to do something totally different with it - Last year I turned one into a purse so I didn't want to do the same thing again this year.
So I laid the box on its back so it would open towards you and as you can see I totally Blinged it up :O)
Again Moonlight level 2 paper was perfect for this - 
I love the elegant stripes and the honeycomb smokey plum patterns together.

The flowers were cut using the CTMH Art Philosophy Cricut cartridge with lots of glitter.
I then added Rhinestone Brads and Filigree pewter Charms with the Black Mini Medley Brads.
I also used the Foundry Pin Clips with Dimensional Element Hearts which I had inked in Smokey Plum Ink  then Painted with Create a shade pearl paint and then added Liquid Glass.
I sponged Sweet Leaf ink onto the Black and white Striped ribbon to tint it slightly.
 
 I created the shelf on the inside with a piece of cardstock which I inked and painted with the
Create a Shade Pearl Paint to give it shimmer. I then created the draws and made pull tags from the Black and White ribbon and accented them with buttons from the Slate Mini Medley. I used another brad and the thin striped ribbon from the Black Mini Medley to make the Closure.
to say that I was excited with the finished product was an understatement - I flippin' LOVE IT :O)
Hope you do too - Love Sara x

Thursday, January 31, 2013

Pumpkin Patch Mini Album - Extravaganza 2012

I'm on a roll LOL - finally getting round to uploading all of my Extravaganza artwork 
- and about time too I hear you say !!!
 Love the True Fit File Folios - so used one to make a larger mini album than usual.
I scored it at 4 1/2" and folded up the bottom to make large pockets.
Moonlight Level 2 paper was perfect for this - and not Halloween at all.
I cut 3D flowers using the CTMH Art Philosophy Cricut Cartridge
I threaded Black and white Bakers twine from the Neutral assortment to join the 2 center sections.
 The pockets were large enough to put lots of photos inside and added Black and White Striped ribbon for more texture and Shimmer tape for some sparkle.
   I added more ribbon as pull tags for the photos and added the children's names.
I used the Smokey plum Pigment ink from the Enchantment collection and as it stays wet for longer
used it as the base to sprinkle Clear Detail Embossing powder on top and then heat set it using the craft heater. Perfect :O)
Love the True Fit File Folios - and hope you like what did made - Love Sara x

Wednesday, January 30, 2013

Moonlight My Creations Mini Album - Extravaganza 2012

Oh my goodness - look how my boys have grown.
This My Creations Memory Showcase Album turned out EXACTLY how I wanted it to :O)
 Again I used the Moonlight paper - and this just goes to show how versatile it is.
I used the Black and white striped ribbon to accent the photos.
 Look at those little faces - I just want to kiss them  xxx
 As usual lots of Liquid glass was added to the Dimensional Shapes and Shimmer Trim
Tape added some sparkle. I also inked the Wooden Badge Buttons and then Liquid Glassed them too.
 I added the word Smile - using the Glamour Glitter Alphabet which is self adhesive.
Love my boys and LOVE this album - hope you do too - Love Sara x

Monday, January 28, 2013

Milk Carton Bird House - Extravaganza 2012


Here is my little Birdhouse - made from the Moonlight Level 2 Paper and the My Creations Milk Carton.
And its so cute - OMG !!!!!

Lots of bling as you can see and paper flowers made with the CTMH Cricut Art Philosophy cartridge.
I added Prisma Glitter to the flowers for even more sparkle :O)
I cut the circle in the center using the Coluzzle system but you could trace a circle and
cut it with a craft knife.
I used the Corner Rounder with the guard taken off to make the scalloped edges on the roof then added brads from the Slate Mini medley.
I sponged Smokey Plum into onto the Colonial White Color Ready Ribbon and tied a bow and attached it over the doorway with Liquid Glass.
I colored more ribbon with Sweet Leaf ink and tucked it around the flowers.
Rhinestone Brads added more sparkle.
I loved the way it turned out - hope you do too - Love Sara x


Saturday, January 26, 2013

True Fit Folio Moonlight Mini Album - Extravaganza 2012


Here is the Mini album I made using the Moonlight paper and Dimensional Elements
The base is a True fit file folio which was scored to make 6" panels and then scored at 2" 5" 8" in the other direction. 
The idea in my brain was to make all of these pockets which I could fill with lots of photos and journalling and then fold up to a much smaller piece - yes well - the idea was good but in practice
not so much. The pockets were awesome and it made a 3d piece of art which was
perfect for putting on a shelf or table but not in your purse!
the embellishments and pockets full of stuff meant that it wouldn't close flat - hahaha :O)
Anyway - I loved how it turned out - it was exactly how I had pictured it when it stands on the table
and I love the fan folded piece and embellishments on the front.
Hope you love it as much as I do :O)   Love Sara x

Saturday, October 13, 2012

This fun shaped glass bottle came from Michaels craft store for just .99 cents - a bargain :O)

Using the Moonlight Level 2 Paper Pack,  I cut a scalloped edge border using the CTMH Artiste Cricut cartridge out of black cardstock and wrapped it around the bottle, then added a strip of the Goldrush patterned paper & on top of those a piece of the Silver Shimmer Trim
Then using the C1509 Magic Potions stamp set I stamped the 'Extract of Eel' image.
The striped banner piece behind the flower is one of the Moonlight dimensional elements  & the flower was cut using the CTMH Art Philosophy Cricut cartridge.

And the Extract of Eel inside the bottle ???? Orange sugar sprinkles from the baking dept :O)

Hope you like it as much as I do - Love Sara x

Friday, October 12, 2012

I loved these glass test tubes which I purchased from Amazon.com - they were 6" tall.
I knew I wanted to fill them with fun treats
- so the one on the left had chocolate covered raisins which looked like they could be Pickled Toad -
& the one on the right was filled with Wilton 'eye's from the baking section at our local store
 - perfect for Eye of Owl.

I have to confess to making the display boxes from scratch and have no dimensions to give you :O(
But the cool labels were cut using the CTMH Artiste Cricut cartridge and used the stamp set C1509 - Magic Potions.  I used Bitty Sparkles on the labels for a sparkly touch.

The owl paper from the Moonlight Level 2 Paper Pack was just perfect for this project and I cut bands of Black cardstock and then Smokey plum cardstock which I scalloped the edge using the Corner Rounder with the guide removed. A band of Silver Shimmer Trim completed the center section.

I used the Just Blooms Paradise Collection with a CTMH Art Philosophy Cricut flower layered on top with the centers filled with Silver Glitz Gel Glue (AKA Squidgey Stuff if you took my class).

Hope you love my Spooky test tubes as much as I do - Love Sara x


Thursday, October 11, 2012

Moonlight Halloween Mini Banner from Extravaganza

Here is a totally spooky Halloween My Creations Mini Banner which I made for my class at Extravaganza this year.
 I fan folded 3 circles cut using the 2" scalloped punch and made them into the rosettes beneath each of the letters and added a circle cut using our 1 1/4" punch.
The owl was cut using the new CTMH Artiste Cricut cartridge from the Black, Smokey Plum and Whisper cardstock which comes in the level 2 paper pack - I then added more 'feathers'  - to make him look fluffier -by cutting a paper flower from the Just Blooms Paradise Collection into pieces. 
Black sparkles added a fun touch to his eyes along with the eyes of the punpkins.
 I added the Dimensional elements behind the rosettes and added lots of liquid glass to add a glossy surface to areas of most of them.

Finally I threaded the new Black Tulle Ribbon through the banner pieces and tied in a bow at each end.

I love the way it looks - hope you like it too  - Love Sara x 

Thursday, September 27, 2012

Halloween Cubby For Extravaganza

Okay I have had lots of emails asking me about the My Creations Cubby which I decorated for my class at this years Convention in Dallas where I taught at Extravaganza - so here it is :O)
I used the Moonlight level 2 paper and matching Dimensional Elements and many Cricut flowers using the Art Philosophy Cartridge.

I used the new Cricut Artiste Cartridge for making the boxes and I think they look adorable - I used this cartridge for cutting out the bat (which is hanging on fishing line) and the cat (which wobbles as I added one of the Adhesive Springs to the back of it)

I decorated the Cubby itself my mixing and painting with Smokey Plum re-inker with the Create a Shade Pearl Paint and then added more re-inker to water in the Spray Pen and spraying over the painted areas to give more depth.

I actually donated this item to Close To My Heart's Operation Smile raffle and it raised $300 - woohoo :O)

Hope you like it as much as I do - Love Sara xxx

Tuesday, July 24, 2012

Extravanganza 2012 artwork - wooden plaque

Well I thought i would give you a sneak-peak of some of the artwork which I made for my Extravaganza class in Dallas. I was thrilled to be chosen to teach again and I was give the awesome 'Moonlight' level 2 paper pack & dimension elements.
Here, I used a wooden plaque from Michaels which I inked the edges using Smokey Plum ink - I then brushed peal paint over the top. I added paper and then photo mats for the fabulous photos of my
beautiful daughter Robyn.
I made paper flowers using the Cricut ' CTMH Art Philosophy" cartridge - then used dimensional element hearts which I either covered in the Moonlight paper or inked, painted & liquid glassed. 
I also inked the garden shapes wooden flowers.
New Black and White striped ribbon added another textural feel & the dimensional elements banner pieces were layered over the ribbon.
Hope you like it as much as I did :O)