Showing posts with label Mini Albums. Show all posts

Monday, September 12, 2022

A year of Mini Album Boxes - Virtual Classes

I can't tell you how excited I am to have created this set of mini box album virtual classes - they are absolutely gorgeous and each variation has its own independent cutting guide and support videos.
Spring features softer colors, Spring features brighter colors and an adorable gingham print which reminds me of picnics and outdoor events
Fall has gorgeous tones of browns, golds and yellows and winter features cool colors and rich red tones.

Which photos will you put in your box??


Saturday, July 15, 2017

Prickly Pear Mini Album

Prickly Pear Mini Album by Sara
How cute is this - I love this paper more and more and this is perfect for adding cute little  photos to this adorable mini album - perfect for carrying in your purse :O)
Again I used the Prickly Pear Workshop your way and added in the matching cardstock pack for the additional colors of hardtack which co-ordinate with this fun paper.
Head on over to my website at https://sarabatkin.closetomyheart.com/default.aspx and order yours today and I will send you the cutting guide for free :O)

Monday, July 25, 2016

Fun Scrapbook Mini Album in a Box - Extravaganza 2014


Love, Love, LOVE this mini album in the CTMH Journalling Cards Box. Its is the perfect size for so many things and can be decorated in so many ways - I am so sad to see it retire at the end on July :O(

Here I added this fun flowered paper and added an adorable mini album inside it.
On the outside of the box I took one of the Base and Bling bracelets which i flattened out and added ribbon which I wove in and out of the bangle part.  I was still able to add the charms by looping them into the ribbon.

I hope you love it as much as I do & that it inspires you to create - Love Sara xxx

Wednesday, June 29, 2016

DAD - 3 Ring Mini Album

I so love this piece from the Extravaganza class of 2014.

I used the Kraft 3 Ring binder from CTMH and have used it to keep all of the cards which I received when he passed away.

I used the Alphabet sticker sheet to spell DAD and then added the glass pieces on top.

I used Liquid Glass to glue two '&' pieces together to give the impression of a metal boat fitting and added an anchor charm to the ribbon on the spine.

I love looking at this and at the cards which I was sent - it is a perfect memory keeper and I will be sorry to see this mini album retire in just a couple of days - make sure you don't miss out

Love Sara xxx

Monday, March 24, 2014

Good Times mini album

 I really do like the CTMH Cricut Artbooking cartridge - not only does it give you options for page layouts - there are also the patterns for 10 different sized mini albums.
This one is the Summer mini album.
 These mini albums are so cool as they have many themed images which you can add if you want too. I particularly love the beach umbrella below :O)
 All the way thought I have added the tan glitter paper and burlap ribbon.

 the page about with the masked character actually opens so the journalling is under the photo.
Hope you like it :O)  Love Sara xxx

Friday, March 21, 2014

Costa Rica friends gifts

When I earn at trip through Close To My Heart I make a point of making hand made albums for the Executive team, Monica Wihongi, Kristine Widfeltd and Brian Holman and of course one for the CEO and owner Jeanette Lynton.

This trip was no exception and I used the new Balloon Ride Level 2 paper pack.

The base was a True Fit File Folio and had all sorts of pull out tags and waterfall photo features.
 I used Creme Brûlée and Sorbet inks to give the butterfly the 2 tone image.
I also added the Brown/Tan Glitter paper to add some *Bling* (of course I did LOL)
You can see the 2 additional photo mat tags peeking out of the side pocket on the left and the top pocket on the right.
 On the last page you can see the 'Waterfall' photo feature which allowed me to add 
4 photo mats to a very small space. By pulling on the tab at the bottom the photos fold up 
and allows you to see the one below it.
Again there is another tag which can be pulled out of the top of the left hand section 
and the final tag is pulled out from the side of the final section.
 This shows the 'Waterfall" partially opened.
Well I hope you liked it  as much as they did :O)
Love Sara xxx

Thursday, March 20, 2014

Sweet Moments Mini Album in a Box

 I am sad not to be able to get any more of the My Creations Recipe Boxes -I used them for so many things - should have stockpiled them LOL. I chose the check paper from the Laughing Lola paper pack as this - along with the gold patterned paper made me think of picnic baskets.
For this project I turned the box on its side so that and then used the Laughing Lola Dimensional Elements along with paper flowers cut with the CTMH Cricut Art Philosophy cartridge and the flourish from the Wooden Mini Medley and Burlap Ribbon to decorate the lid.


 Inside I made a concertina style mini album from lengths of 4x6 black cardstock and then glued the flip flaps to the back - I think it is easier to see what I mean from the photos than trying to describe it lol.
The photos were taken by my super talented friend Jenner from JLCashin Photography -Facebook.com/jlcashinphotography 
If you live in the area make sure you check her out - her photography is fabulous.
 On some of the sections I used either the Wishes or Originals card confidence programs and chose card designs to decorate these areas.


Hope you like it as much as I do - Love Sara xxx

Wednesday, February 05, 2014

Buzz & Bumble Mini Album

Another of my My Creations Memory Showcase transformations - you know how much I love these little mini albums :O)

I used the Buzz & Bumble paper packet along with the matching assortment and the Brown & Tan Glitter Paper and C1537 Honeycomb stamp set and yes my favorite D1482 Love Life - I am in love with the huge swirl in this set :O)
 The spine was dry embossed and then inked with dots of Liquid Glass at the intersection of the lines.
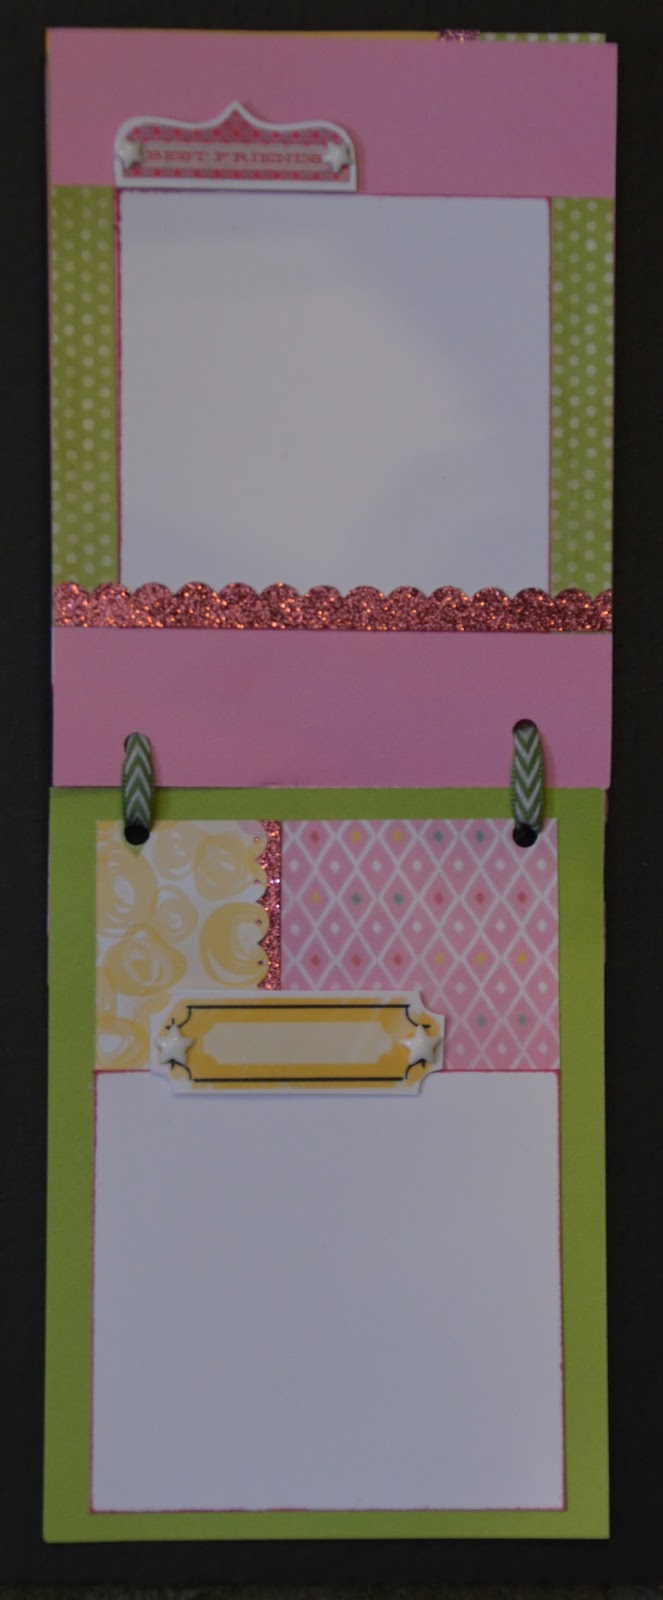
 I accordion folded the 2 internal pages and then made pockets from 6x12 cardstock which I slid onto these pleats. Then added a matching mini album to the pocket.

 
 I also added the Color Ready seam binding ribbon - left in its cream color - as it compliments this project perfectly. The Glitter Paper honeycomb shapes I made by just stamping one of the honeycombs on the back of the paper and cut it out. Now that we have the new CTMH Artbooking Cricut cartridge you will find the corresponding image on there :O)
 I used the CTMH Artiste Cricut cartridge to cut the borders from the Glitter paper.
 
 
 Again dry embossing adds texture and interest to the cardstock sections.
 
The following pages were variants of the first pages.


Another project where I was trilled with the finished result - hope you like it too :O)
Love Sara xxx

Friday, January 17, 2014

Disney Circle & Spin card Mini Album

Oh this one was fun to make :O)
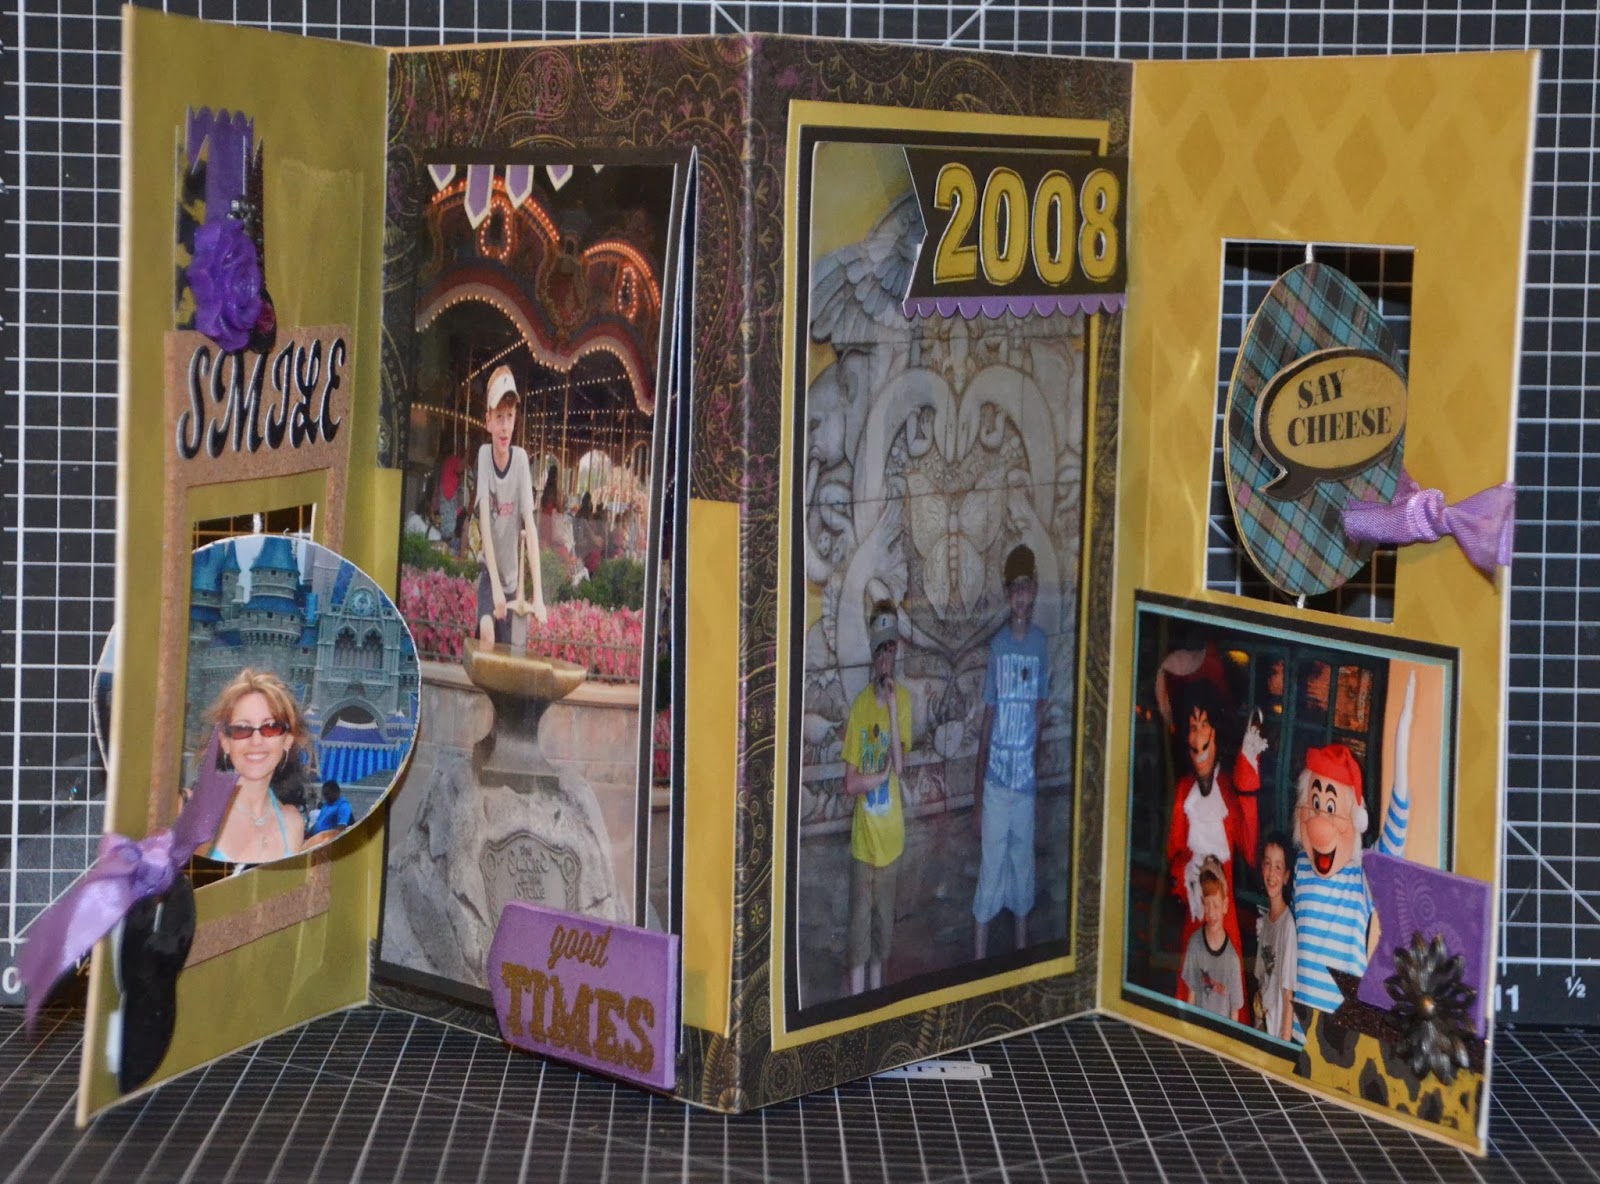
I took 2 CTMH Circle & Spin cards and then took a 7"x2" piece of cardstock scored vertically and attached to the back of the cards so that they became one item.
I used the same technique with the stencil created with the CTMH Artbooking Cricut cartridge which I talked about yesterday to decorate the Laughing Lola Gold cardstock. I attached photos to the spinning section of the card and added a lift up section so that I would be able to add more photos.
 I used the Z1811scallop boarder punch on the Gypsy cardstock under the '2008'. This was stamped using the new E1027 Framework Alphabet.
The Mickey Mouse image on the spinning section was created with 3 circles which I overlapped and then covered with Liquid Glass to make Mickey look shiny.
 On the other side of the spinning section I added the dimensional element from Laughing Lola 
"Say Cheese" seemed so appropriate :O)
Hope you like it - Love Sara xxx

Friday, January 10, 2014

Family Mini Album in a Bag

Here is another project which I submitted for Extravaganza 2013.
The base is the My Creations 6x6 Memory Showcase album.
I made the handles and the sides from Burlap Ribbon. and featured the Chantilly paper pack.
The flowers and leaves were cut using the CTMH Art Philosophy Cricut cartridge and as usual I used the Bonding Memories Glue pen and Prisma Glitter to make the flowers sparkle.
I used a Dimensional Element Heart and inked it with Desert Sand ink. I then rubbed a layer of Create a shade pearl paint over the ink and when it was dry then stamped the word LOVE from my absolutely favorite set D1482 Love Life.
I think added a layer of Liquid Glass to make it shiny. I did exactly the same process on the tiny wooden bird and used Crystal Blue ink before the paint and Liquid Glass.
I pleated the Chantilly Fabric and also added the key from the Brocade Assortment.
I also added a wooded flourish from the Wooden Mini medley which had the same treatment as the wooden bird and cut another flourish with the Cricut cartridge from the Twilight cardstock
Inside the Bag I added a collection of mini albums made from 8x5.5 cardstock bases which I folded in half to make 4x5.5 mini books.
Here I used the Cork alphabet which I added more liquid glass to and used the piercing tool to decorate the edge of the scalloped cardstock.
Here is a close up of the Dimensional Element Heart - I covered it with paper - then Prisma glitter and tucked a pleated piece of Chantilly fabric behind it.
I added Clear Sparkles to the paper at the bottom of the paper.
Here I just folded a length of Chantilly fabric and attached it at the back with liquid glass.
This little heart was inked and then I added a layer of Liquid glass and then dipped it into the Prisma Glitter.
On this lager heart I added the Chantilly paper and then a Clear Sparkle and then a layer of Liquid Glass.
This heart had the fabric attached to it - then a Sparkle and then Liquid Glass :O)
Hope you like it - Love Sara xxx