Showing posts with label Workshop To Go. Show all posts

Sunday, January 15, 2017

Hello Lovely Scrapbook Double Layout

I thought I would share the pretty layout I just made featuring the Hello Lovely Workshop Your Way.
I am a fool for these flowers and delicate designs 
and this paper is just perfect for layouts for family, friends, weddings, 
get togethers, engagements, girls and in my opinion pretty much every occasion :O)

The Workshop comes with the gorgeous new pink shimmery ribbon and gold gems 
and the matching compliments. Everything you need to make a complete projects.
I added small amounts of Gold Glitter Paper and then went to town coloring in the 
flowers with the clear Shimmer Brush.
A little direct to paper ink distressing with Whisper ink and you have the perfect layout xx
Hope you like it as much as I do - love Sara xx

Tuesday, July 15, 2014

Timberline Workshop on the go Scrapbook layout - 2 versions :O)

Hello Peeps :O)  did you miss me LOL :O)

 I will try to bombard this blog with some posts and get you back in the loop - its just crazy here - No different from any other time I hear you say haha :O)

SO here is my layout created with the Timberline WOTG - now - to this first version I added Bronze Shimmer trim and the matching Stickease - and its adorable :O)
And this is what I planned on teaching BUT - the Stickease are sold out :O(
So I have had to redesign it by removing all of the Stickease elements and replacing them with stamped or cricut cut items. I have to say that I am pretty happy with the result :O)
I cut the trees using the CTMH Cricut Artbooking Cartridge and tried to keep the layout pretty much the same.  Hope you like it :O)

Remember that Timberline and all of the other papers in this current Idea Book will retire at the end of July so if you need any of them - the time to order is NOW. 
Don't delay - they are selling out fast :O(
Visit my website at   sarabatkin.myctmh.com to place your order xxx

Love Sara xxx

Monday, May 12, 2014

Lollydoodle Scrapbook WOTG Layout - Cricut Artiste

This is such a popular paper pack - I have so many customers who are so in love with this :O)
I added the Pink Glitter cardstock to the layout and cut the image for the sentiment using the CTMH Cricut Artiste cartridge.
I added the cute adhesive backed gems and Flamingo dots for more embellishment.
(love that these WOTG kits come with all of the fun accessories)
Hope you like it too - Love Sara xxx

Friday, May 09, 2014

Balloon Ride WOTG Card - class project - Cricut Art Philosophy.

I do like to make cards which have a different opening method.
This one opens like a matchbook.
I used the stamp set from the Balloon Ride WOTG and stamped the large image in Sorbet ink.
I stamped the 'Stamps' in Cashmere and Crystal Blue inks and the scroll image on the Saddle cardstock in Saddle Ink.
Bronze shimmer trim adds sparkle to the bottom of the card and then I have used some retired
Chocolate flower buttons with s Brow Sparkle in the center to add a little more accent to it.
Hope you like it - Love Sara xxx

Thursday, May 01, 2014

Balloon Ride WOTG Scrapbook Layout

Oh how I love this paper - it is so, so pretty when you see it in person
It is so difficult to see all of the pretty details on a 2" square in the Idea Book so I can't wait to share this with my Lovely Ladies this month.
I added Tan Glitter paper and stamped the triangular image in Juniper Ink on the Juniper cardstock.
I used Sorbet Ink on the saying and then added the Sparkle flourishes and Balloon Ride Assortment resin flowers along with the Matching Dimensional Elements to embellish the page.
I was thrilled with the results - hope you like it too :O)
Love Sara xxx

Monday, April 21, 2014

Ariana Love card - Balloon Talk

I am having so much fun with this Stamp of the Month set - Balloon Talk.
It is so versatile - I have used it with so many different papers and it works with all.
Here I used the Ariana Workshop on the Go - the base is the Hollyhock cardstock
and I stamped in Hollyhock ink to give a Tone on Tone effect.
I used the same stamp ( from the Workshop on the Go) in Buttercup ink on the
squares so that they didn't look so plain.
I stamped the same image on the white Cricut heart shape.
I added Desert Sand cardstock which I scallop punched and then added holes made with
the piercing tool.
I then added a small strip of the Zipstrip along it.
I attached Bronze Shimmer trim either side of the patterned paper and 
3 Brown sparkles finished it off
Hope you like it - Love Sara xxx

Monday, April 07, 2014

Ariana Workshop on the Go Scrapbook Layout


I have to say that I absolutely love this layout - It is based on the layout in the 
Spring/Summer 2014 Idea book which only shows a single page - but it is so pretty.
My dear friend Victoria worked on this one too and this is my version of what we came up with.

I love the Dimensional Elements which match the paper and in the WOTG
 you get the cool Black and Grey Epoxy Bubbles as well as the pretty ribbon bows.
On the Dimensional Element Camera piece I used l the silvery grey one Epoxy bubbles to 
fill the center of the printed image and then liquid glassed them in place to make it look 
like a camera lens. This photo does not do it justice.
I did put 2 photo mats side by side on the left hand page which allows 2 photos of 4x6 
or you could put one photo 8 x 6 in that area.
Again just like the card which I posted on April 2nd, I have layered the paper pieces 
and it is such a pretty technique.
Hope you like it too - Love Sara xxx

Tuesday, April 02, 2013

Chantilly Scrapbooking Workshop On the Go

 This is the super cute stamp set in the Chantilly Scrapbooking Workshop on the Go
I love the different segments and what is even more fun is that they fit PERFECTLY into 
D1545 Wheel of Life which is featured on page 77 of the Spring/Summer 2013 Idea Book .
I really like the leaf image which has a swirl feel to it and the fun mini phrases are perfect for pages or cards.
On this 3"x6" card above I used Pear ink to stamp the leaf in the top right hand corner.
The scallops were made with the Corner Rounder with the guide taken off.
I then added the holes with the Piercing Kit.
The pretty little flower was cut out on using the CTMH Art Philosophy cartridge
The more I looked at the segments I could see other images which could be created - so made this fun birthday card by making one of the segments into a party hat with a glitter button on the top of it with a Clear Sparkle in its center.  I dry embossed diagonal lines into the Sweet leaf cardstock and then heavily ink distressed it ink Sweet Leaf Ink. I sponged Cotton Candy ink onto the Black and White Grosgrain Ribbon.
As soon as I saw the segment with the leaves on it I knew it would make the cutest little tree.
I added Sparkles to it and used a small scrap of the Pear and partridge paper.
A little piece of Burlap Ribbon - frayed on all 4 sides - added a more country feel to it.
Well I hope I have given you lots of ideas with this set.
Love Sara xxx

Wednesday, May 09, 2012

Lucy Workshop on the go wall hanging.

This super cute wall hanging was made from the piece which was left over from my "Welcome" banner.
I made the 3D flower using the 1 1/4" punch and the sentiment and the butterfly come from the Workshop on the go. The rub-on bouquet of flowers all was in the WOTG along with the bitty sparkles.
The Sweet Leaf grosgrain ribbon is just perfect with this kit 

Hope you like it :O)

Monday, April 23, 2012

Lucy Workshop on the Go Mini Banner

Oh my goodness I was so happy with the way this mini banner turned out - it is so stinkin' cute :O)
I used the sweet leaf wide grosgrain ribbon to thread the panels together. I made the rosettes under the letters from2 circles punched using the 2" scallop punch. I used E1019 Bohemian Alphabet to stamp the word  'Welcome', and then stamped the flowers and butterflies using the stamp set which comes in the Workshop.
I just loved the way it turned out and hope you do too :O)

Friday, July 29, 2011

Fanfare Workshop To Go

Here is the last Workshop on the Go for this idea book - the very patriotic Fanfare set. It is perfect for everything Americana and especially July 4th. 
I also love the stamp set which is included (along with buttons & embroidery floss) as it is perfect for party invitations and birthdays & for wonderful hot summer ice-cream filled days :O)
 The 3 cards below are made following the instructions included in the kit - just perfect for those July 4th picnics & get togethers :O)
 This card - made using the colors Cotton Candy, Sweet Leaf,Garnet & Desert Sand  uses the Fanfare WOTG stamp set but puts more of a birthday party theme to it. I also included the stars image from the set Circle Together as an added accent and a flower shaped chocolate button for some textural detail.
 
Hope you like them :O)

Tuesday, March 15, 2011

Bliss Workshop on the Go

Oh I soooooo love the paper and stamp set in the Bliss Workshop on the go. So very me :O) This is one of the cards we are making at this months class. The colors are sorbet, chocolate and olive inks and I have shown a selection of the B&T in the paper pack. I have used a sentiment from C1422 - Unity which says Friend Forever. I think this is such  pretty card
Hope you like it :O)

Tuesday, November 02, 2010

Mistletoe - Workshop on the Go

 The cards above are from the Mistletoe Workshop on the go - I think they are just gorgeous - the paper flowers and mini brads, bigger brads and acrylic brads are included along with the lovely stamp set which includes these beautiful ornaments and phrases. The instructions are on the leaflet included in the kit.
 These 3 cards were made using more of the paper in the paper pack which is included and the patters come from the Originals and Wishes card confidence programs.
This double layout was so  lovely I had to make it - again the instructions are on the leaflet included in the kit. Hope you like it :O)

Monday, October 25, 2010

Olivia Workshop On The Go - with a twist on the color

This is a card inspired by my good friend Kelly Waterman who made a layout many years ago using fall leaves and these spring colors. It was so pretty and stuck in my head - so when I say the Olivia WOTG stamp set I knew I had to make a card using those same colors, Amethyst, Heavenly Blue, Key Lime and Baby Pink.  It makes a fun spring themed card. I used the piercing tool to make the stitching holes along the left hand side of the ink distressed Amethyst cardstock and used the corner rounder with the guide removed to make the scalloped edge and then used a hole punch in those scallops. The word Delight was stamped in Cocoa ink.
Hope you like it :O)

Thursday, October 21, 2010

Hooligans Workshop on the Go Cards

Here are the cute cards made with the Hooligans level 2 paper pack and accessories from the Workshop on the Go
 The bottom 3 cards I made using the Originals and Wishes card confidence programs - again using supplies just from the Workshop on the go kit.
These are perfect birthday cards or invitations or even 'Well Done' cards - perfect to celebrate a good grade, exam result or 'Just because'
Hope you like them :O)

Thursday, September 23, 2010

Olivia Workshop On The Go

These are the 3 beautiful cards made with the paper from Olivia Workshop on the Go. The embellishment that comes with this kit are the gorgeous Shimmer Brads and I love the fact that Close To My Heart has stopped adding upgrades. So you have everything in this kit to make these beautiful cards (or the scrapbook pages featured in the the instruction guide in the kit - your choice).
Here is another card which I made from the paper remaining in the level 2 paper pack - it is the "First Impression' pattern from the Origials card confidence book.
This one is also from Orginals - it is called Cubes & Colors and the only way I have altered this pattern is to cut off 1/2" from the right hand side of the top layer of the card. This way - the border which is stamped on the inside layer of the card is visible.
This final card is one of my favorite layouts - in fact it is featured on the cover of Originals - it is called Lucky Three.
Hope you like them :O)

Saturday, July 03, 2010

Zippedee WOTG

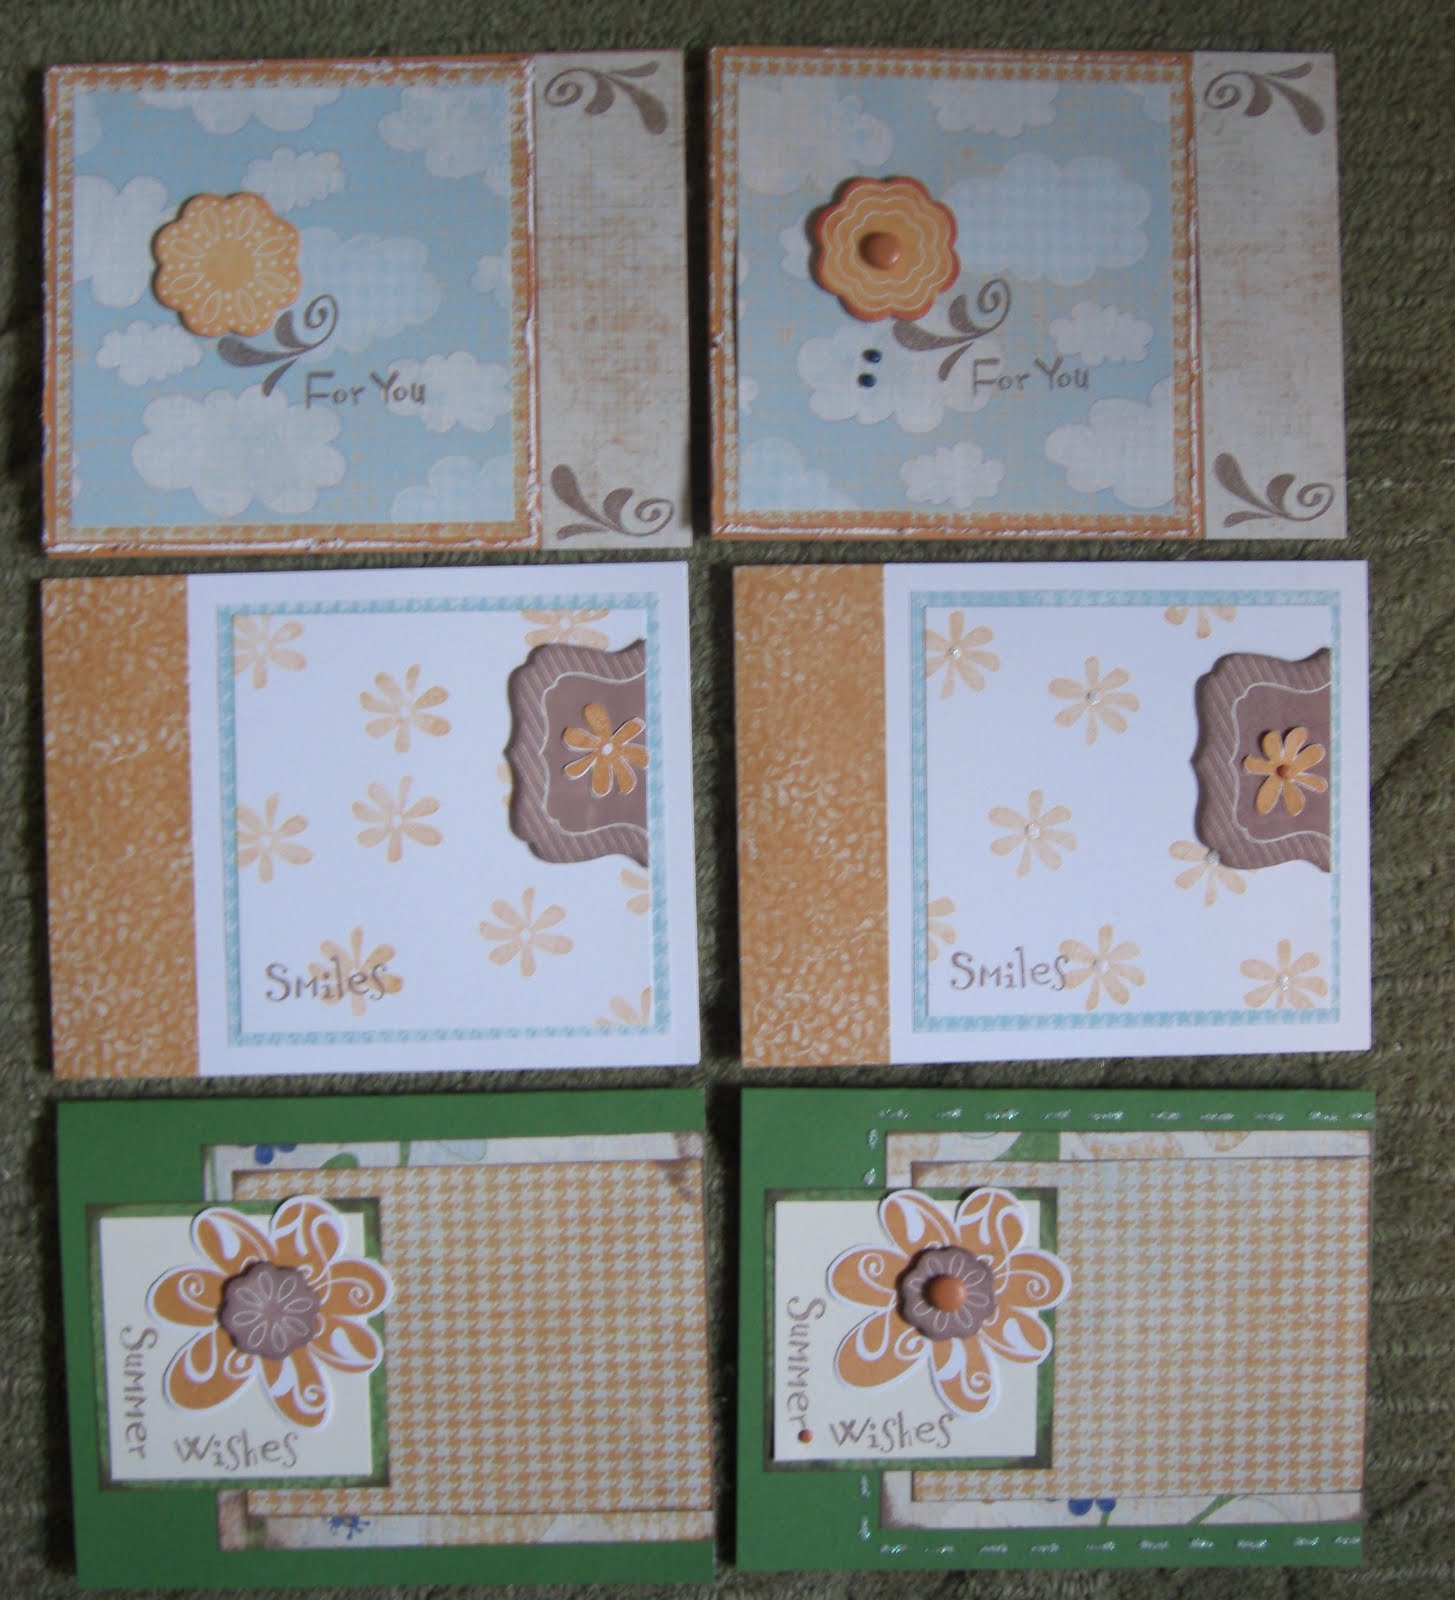
These are the cards made with the Zippedee workshop on the go - they are so much fun - great for boys and for girls :O) the cards on the left are made from the basic kit and the cardson the right incorporate black hemp and the buttons which are the 'upgrades'
Hope you love them as much as I do :O)

Thursday, June 03, 2010

Splendor WOTG

Here are the lovely cards from the Splendor Workshop on the go. The left hand cards show the basic kit and the cards on the right show the additional 'upgrades'
Hope you like them x

Monday, May 03, 2010

Cherry-O Workshop on the go.

This paper is so cute - just perfect for summer days and picnics. Here are the cards made with the Wokshop on the go kit. As you remember the kit includes a level 2 paper pack, the instuction booklet, a limited edition stamp set and in this case the new tulip mini medley.
The left hand cards are made with the basic kit - the right hand cards have the optional 'upgrades' of the colonial white bigger brads added to them.
Some of the stamped images have had the edges 'rolled' in the chocolate ink - to add a distressed look.
Hope you like them :O)

Thursday, April 22, 2010

Your Rock WOTG cards

I LOVE this paper - it is so much fun - perfect for boys - especially teenagers - and for girls who love Hannah Montana :O) As usual the cards on the left are made from the basic kit and the cards on the right have the added 'upgrades'.
Hope you like them :O)